This is a continuous 12 Lead Electrocardiogram during a walking test on a treadmill. One common reason to perform the test is to look for possible narrowings of the arteries that supply blood to the heart muscle. There are numerous other indications including assessing your exercise capacity.
What happens during an Exercise ECG?
During the test the treadmill increases in speed and inclination every 3 minutes in set increments according to a protocol used by doctors all around the world.
An experienced doctor monitors blood pressure, heart rate and ECG as well as the patient. The patient is continually monitored during the test for any other signs and symptoms
Preparation before the Exercise ECG
On the day of the test, we recommend the following
A light meal is allowable at least 2 hours before the test.
Please do not use body lotion on your chest – this may interfere with the adhesive electrodes.
ECG patterns and some of the body’s responses to exercise can be affected by various medications, so please bring a complete list of your medications to your appointment.
You will be asked permission to perform the test.
What to Wear for the Exercise ECG Test
When you enter the test room patients are required to:
Undress to the waist, so wear a two-piece outfit and comfortable footwear.
Women are given a gown to wear.
Some people bring exercising shorts / tights and walkers / joggers.
Exercise Test Connections
Patients are prepared for the test by having:
Electrode sites on the chest are cleansed with alcohol wipes
Some men require a small amount of shaving to ensure good electrical contact between the electrode and skin which can be hampered by bodily movement during the test
Ten adhesive electrodes are then attached to the chest
The electrodes are connected to leads
The leads provide the signals for the ECG to record
Exercise ECG Test – Treadmill
A rest ECG image will be recorded whilst standing on the treadmill.
The treadmill exercise ECG consists of walking on a treadmill, initially very slowly.
A firm grip should be maintained on the treadmill bars throughout the test and your feet should be as far forward as possible.
You will be asked to continue for as long as possible at which point the treadmill will stop. Recovery after Exercise ECG Test
Afterwards you will rest in a seated position. During recovery you will be monitored by the doctor until you have returned to your “resting level”. Exercise Echocardiogram Test Duration
Learning basic first aid techniques can help you cope with an emergency. You may be able to keep a person breathing, reduce their pain or minimize the consequences of injury or sudden illness until an ambulance arrives. This could mean the difference between life and death for them.
It is a good idea to take a first aid course so that you can recognize an emergency and give basic first aid until professional help arrives.
First aid for a person choking
Maintaining a clear airway is always the priority to make sure the person can keep breathing. You might need to roll them onto their side, but spinal injury is always a possibility in anyone involved in an accident. There are ways of placing an injured person on their side so that there is very little movement to their spine. You can learn these skills in a first aid course.
First aid for a medication or drug overdose
Medications are very unpredictable. Many medications or illicit drugs have dangerous side effects, particularly if they are mixed together or taken with alcohol.
If you are aware or suspect that someone you have found has overdosed on drugs or medications, do not leave them to ‘sleep it off’. A doctor or ambulance paramedic should assess any person who overdoses on any medication.
First aid kit
As well as knowing some basic first aid techniques, it is important that households and workplaces have a first aid kit that meets their needs and is well organised, fully stocked and readily available at all times.
The contents should be appropriate to cope with a range of emergency situations, depending on the setting. It’s a good idea to have a number of kits handy in different places, such as in the home, car or office.
First aid kits are available for purchase from a variety of providers, including St John Ambulance Australia (Victoria) or your local pharmacy. Specialty kits are also available to meet specific needs.
Reducing the risk of infected wounds during first aid
Open wounds are prone to infection. Suggestions to reduce the risk of infection include:
Wash your hands if possible before managing the wound. You could also use an antibacterial hand sanitiser.
Put on the disposable gloves provided in your first aid kit.
Try to avoid breathing or coughing over the wound.
Cleaning of the wound depends on the type and severity of the wound, including the severity of the bleeding. You may just clean around the wound.
Cover the wound with a sterile dressing. Try not to touch the dressing’s surface before applying it to the wound.
In an emergency, these suggestions may not be practical. If the injured person is bleeding heavily, don’t waste time. For example, cleaning the wound might dislodge a blood clot and make the wound bleed again or bleed more.
Immediately apply pressure to a heavily bleeding wound (or around the wound if there is an embedded object), and apply a bandage when the bleeding has slowed down or stopped. Call triple zero (000) immediately.
Using bandages during first aid
This information is of a general nature only and should not be considered a replacement for proper first aid training.
General suggestions include:
The injured person should be sitting or lying down. Position yourself in front of the person on their injured side.
Make sure their injured body part is supported in position before you start to bandage it.
If the injured person can help by holding the padding in place, wrap the ‘tail’ of the bandage one full turn around the limb, so that the bandage is anchored.
If there is no assistance, wrap the ‘tail’ of the bandage directly around the padding over the wound.
Bandage up the limb, making sure each turn overlaps the turn before. Alternatively, you can bandage in a ‘figure eight’ fashion.
Make sure the bandage isn’t too tight so you don’t reduce blood flow to the extremities (hands and feet). Check by pressing on a fingernail or toenail of the injured limb – if the pink colour returns within a couple of seconds, the bandage isn’t affecting the person’s circulation. If the nail remains white for some time, loosen the bandage. Keep checking and adjusting the bandage, especially if swelling is a problem.
Making an arm sling
After being bandaged, an injured forearm or wrist may require an arm sling to lift the arm and keep it from moving. Steps include:
Arrange the person’s arm in a ‘V’ so that it is held in front of their body and bent at the elbow, with the hand resting in the hollow where the collarbone meets the shoulder.
Open a triangular bandage and place it on top of the injured arm. The longest edge needs to be lengthwise along the person’s body and the point of the bandage should be towards the person’s elbow on their injured side. You only need enough material to tie a knot at the fingertip end.
Create a cradle (hammock) around the injured arm by folding the upper half of the long edge under the injured arm.
Gently gather the material together at the elbow and pull it tight without pulling the bandage off the injured arm. Twist the material into a long spiral.
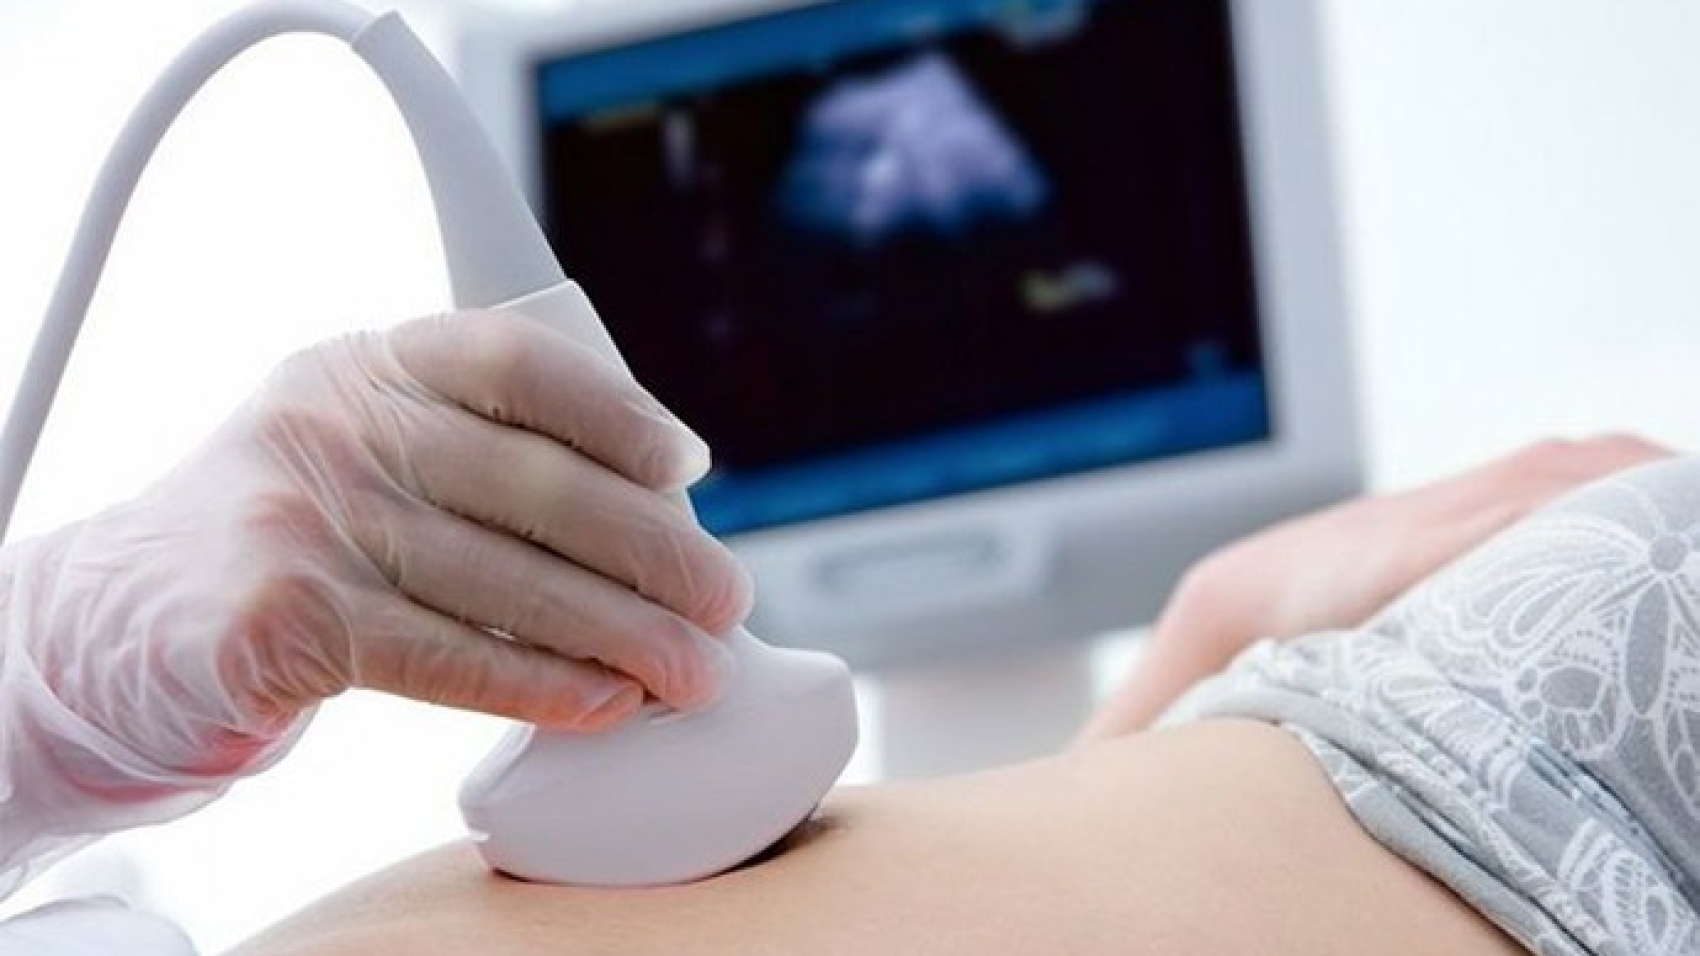
Most people will have at least one ultrasound done during pregnancy as part of their routine prenatal care. These ultrasounds are most often two-dimensional (2D), which means they provide a picture image of the fetus. Ultrasounds in a medical setting are a safe and effective tool for evaluating a fetus and diagnosing complications.
Ultrasounds performed for non-medical reasons, however, are typically not recommended. Health experts generally advise against “keepsake” three-dimensional (3D) and four-dimensional (4D) ultrasounds, which produce still and moving images of your baby in the uterus, because there is no medical benefit and the long-term effects of these lengthy ultrasound exposure are unknown.
2D Ultrasound
All ultrasounds use sound waves to create a picture. The traditional ultrasound used in pregnancy creates a 2D image of a developing fetus. 2D ultrasound produces outlines and flat-looking images, which can be used to see the baby’s body and internal organs.
2D ultrasounds have been used for decades and have an excellent safety record. Since these devices use non-ionizing radiation, they don’t hold the same risks as X-rays, which use ionizing radiation.
Ultrasounds are routinely performed at least once in pregnancy, most commonly during the second trimester between 18 and 22 weeks.3 Known as a level II ultrasound or anatomy scan, this test is used to check in on how your baby is developing.
3D Ultrasound
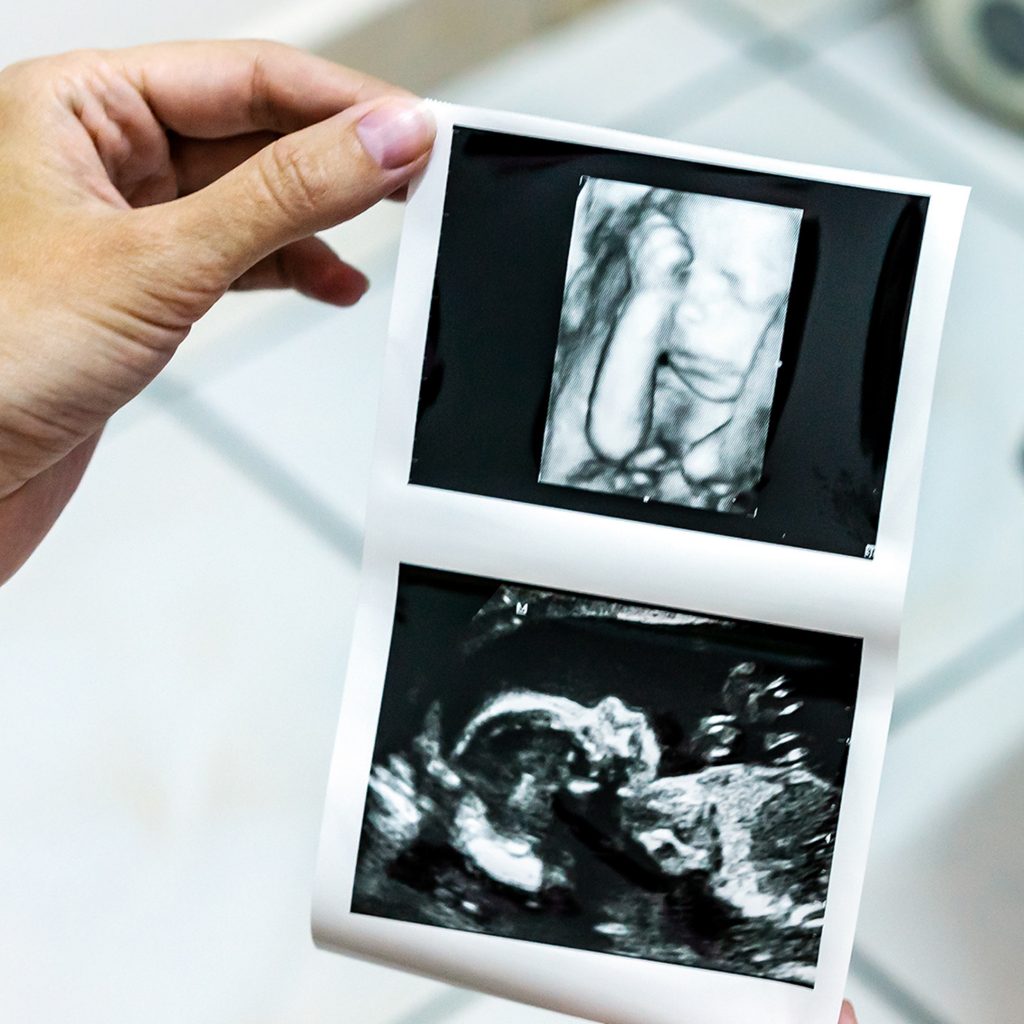
In recent years, 3D ultrasound images have become popular. However, unless medically indicated, 3D ultrasounds may not be covered by your insurance. 2D ultrasounds are typically used in medical settings because they can clearly show the internal organs of a developing fetus, though 3D may be useful in diagnosing a facial or skeletal abnormality.
3D ultrasounds produce their image by piecing together multiple 2D images taken at different angles. Many parents enjoy 3D images because they feel like they can see what their baby looks like better than what the flatter 2D images are able to show. Even so, experts like the Food and Drug Administration (FDA) and the American College of Obstetricians and Gynecologists (ACOG) advise against getting a 3D ultrasound just for fun.
In order to limit exposure to heat and radiation, the “as low as reasonably achievable” (ALARA) principle is what guides ultrasound technicians in a clinical setting.8 While ultrasound is considered safe, there is not enough evidence to ascertain what prolonged exposure to ultrasound may do to a fetus or a pregnant person.
In non-clinical settings, such as places that provide “keepsake” images, there is no guarantee how long the session will last or if the ultrasound machine will be operated properly.
4D Ultrasound
A 4D ultrasound is similar to a 3D ultrasound except that the image it generates is continuously updated, much like a moving image. This type of ultrasound is most often done for entertainment and not for medical reasons.
The FDA does not recommend that you get ultrasounds for fun or bonding purposes because ultrasound is a medical device and should only be used for medical purposes. It is recommended to avoid non-medical settings that offer ultrasounds unless referred by your doctor or midwife as part of your prenatal care.
Keepsake Ultrasounds Cautions
Ultrasounds are not intended for sale or use outside of a medical setting. The American Institute of Ultrasound in Medicine (AIUM) discourages ultrasound for non-medical use. In addition, AIUM recommends that only appropriately trained and credentialed medical professionals perform ultrasound exams.
Exposure to Heat and Radiation
Even though ultrasound is considered safe, ultrasound exposes a pregnant person and their fetus to non-ionizing radiation. It can heat tissue slightly and cause small bubbles in body fluids and tissue.
In commercial settings, ultrasound use can last as long as an hour in order to obtain a video. Because of the potential risk that overuse could have on the fetus and the pregnant person, ultrasound should be limited to use only when medically necessary and performed by technicians who are medically credentialed.
Missed Diagnosis
Technicians in non-medical settings may not be trained to identify abnormalities or other potential complications. If you choose a non-medical ultrasound instead of an ultrasound provided by your doctor or midwife, you risk missing a diagnosis. Conversely, if the technician is untrained, they may indicate a concern that is actually typical and expected, which can lead to unnecessary anxiety.
2D ultrasounds are performed as part of routine prenatal care in the United States. The appeal of 3D and 4D ultrasounds is understandable, however, they are typically medically unnecessary except in special cases and may present added risks. A number of health authorities including the FDA, ACOG, and AIUM advise against “keepsake” ultrasounds as a bonding experience or a memento.4
If you choose to obtain a 3D or 4D ultrasound, remember that commercial ultrasound is not a substitute for professional prenatal care. Be sure to also receive the ultrasound(s) that are recommended by your healthcare provider.